What is the Process of Wine Tasting? A Step-by-Step Guide
Interactive Wine Tasting Guide
Step 1: Look
Hold the glass against a white background. Tilt it slightly and look at the edge of the wine. What do you see?
Tasting Notes
You’ve been handed a small glass of red liquid. It looks inviting, but you’re not sure what to do next. Do you gulp it down like water? Swirl it around until you spill it? Or just stare at it until someone else tells you if it’s good? If this sounds familiar, you are not alone. Most people think wine tasting is about guessing grape varieties or pretending to know fancy French terms. In reality, it is a structured sensory exercise designed to help you understand exactly what is in the glass.
The process isn’t magic; it’s methodical. By following a specific sequence-look, swirl, sniff, sip, and savor-you can unlock layers of flavor that would otherwise remain hidden. This guide breaks down the standard five-step protocol used by professionals, stripping away the pretension so you can actually enjoy the experience.
The Setup: Why Glassware Matters More Than You Think
Before you even touch the wine, your equipment sets the stage. You might be tempted to drink from a tumbler or a beer mug, but shape dictates function here. The standard ISO tasting glass, or a universal stemware with a tulip shape, exists for a reason. The bowl needs to be large enough to hold about two ounces of wine, which allows you to swirl it without spilling. Swirling releases volatile aromatic compounds trapped in the alcohol.
The stem serves a practical purpose too. Holding the glass by the bowl warms the wine with your body heat. White wines need to stay cool to preserve their crisp acidity, while reds benefit from slight warmth to open up their aromas. Using a stemmed glass keeps your hand off the liquid, maintaining the ideal temperature. If you don’t have fancy crystal, any clear glass with a tapered rim works. Clear glass is non-negotiable because you need to see the color and clarity of the wine immediately.
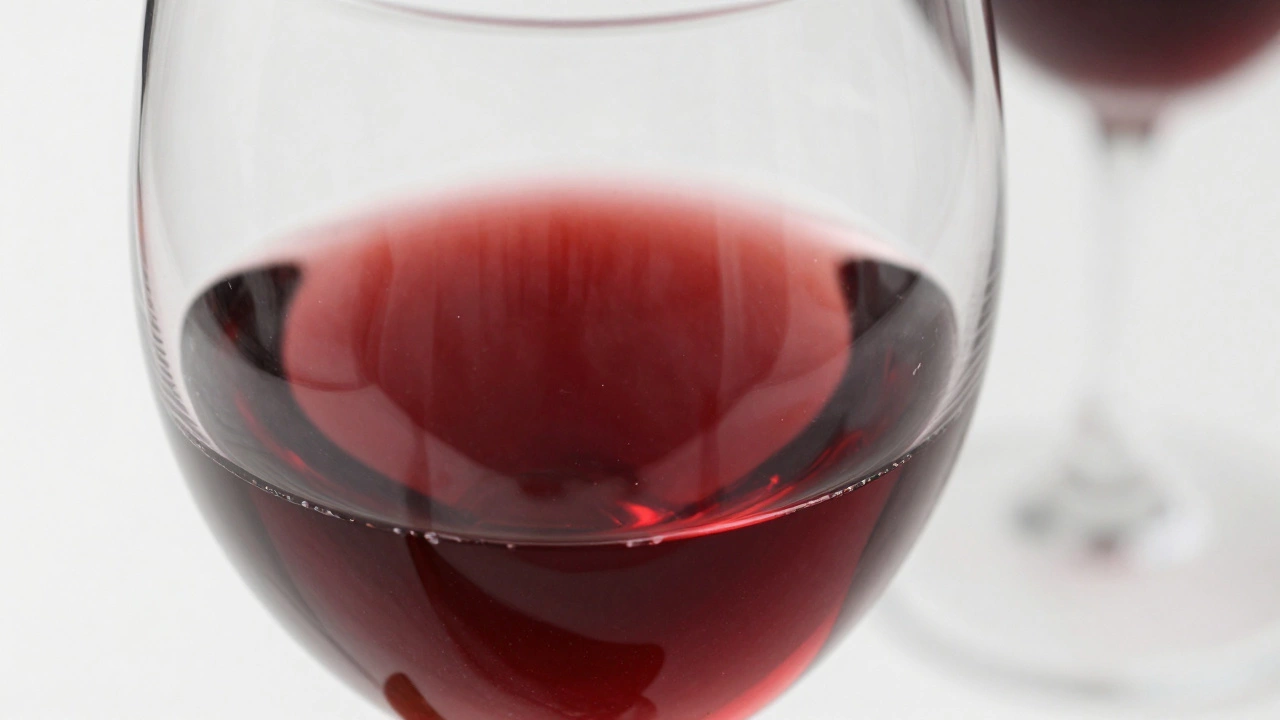
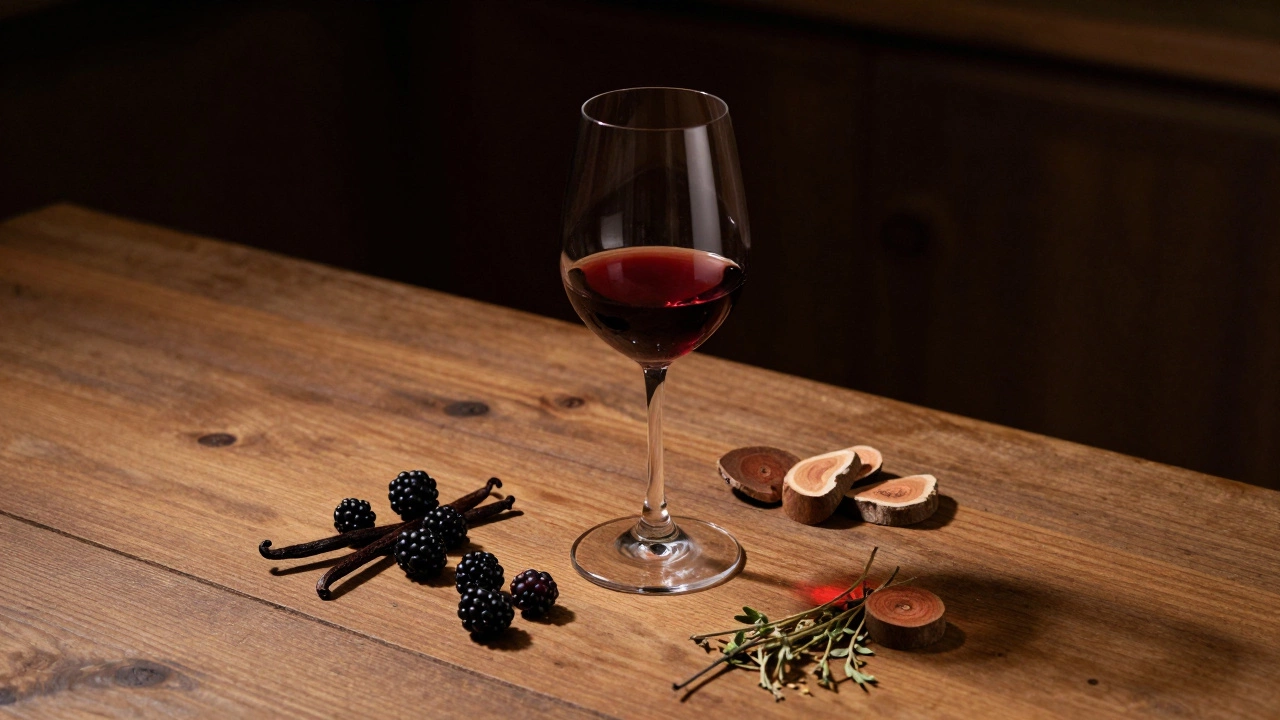
Step 1: Look - Assessing Color and Clarity
The first step is visual inspection. Hold the glass against a white background-a piece of paper, a tablecloth, or just plain light. Tilt the glass slightly and look at the edge of the wine. This thin layer reveals the true color better than looking straight down into the deep center.
For white wines, look for intensity and hue. A pale straw color often indicates a young wine made from grapes like Pinot Grigio or Sauvignon Blanc. Deeper gold or amber tones suggest age, oak aging, or oxidative styles like Sherry. For reds, observe the core color. Young Cabernet Sauvignon will appear deep purple or ruby, while an older Merlot might show garnet or brick-red edges. This happens because anthocyanins (the pigments) polymerize and fade over time.
Check for clarity as well. Is the wine bright and transparent, or is it hazy? Haze can indicate unfiltered natural wine, a fault, or simply sediment in an old bottle. Also, watch the "legs" or "tears" that form on the side of the glass after swirling. These are caused by the Marangoni effect, where alcohol evaporates faster than water, creating surface tension differences. Thick, slow-moving legs usually signal higher alcohol content or residual sugar, though they don’t directly correlate with quality.
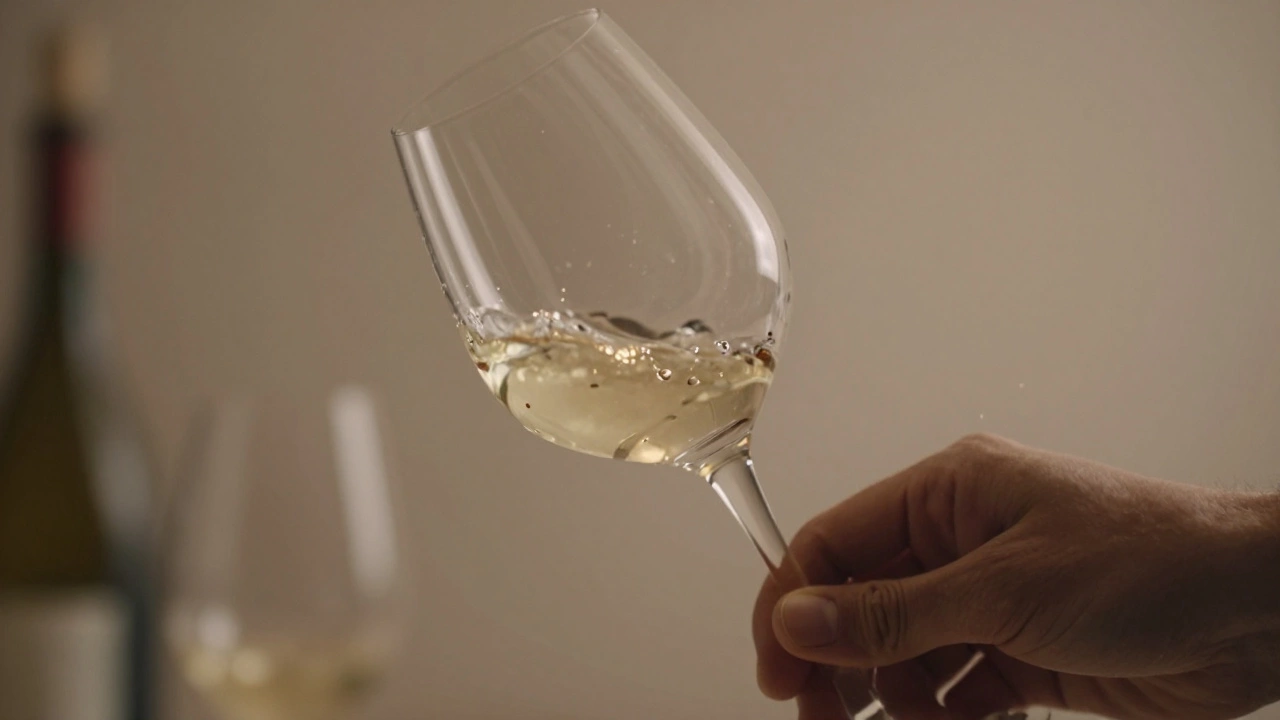
Step 2: Swirl - Releasing the Aromas
Now comes the part that makes beginners nervous: the swirl. Place your thumb on the rim and rotate your wrist in a circular motion, keeping the glass tilted on the table or held in mid-air. The goal is to increase the surface area of the wine exposed to air. Oxygen interacts with the ethanol, releasing volatile esters and terpenes that carry scent molecules to your nose.
If you are swirling on a table, use short, sharp rotations. If holding it, move your arm in circles. Don’t worry about looking silly; everyone does it. After a few seconds, stop and let the wine settle. You should see those legs mentioned earlier sliding down the sides. This brief pause also lets the most potent alcohols dissipate slightly, preventing them from overpowering your olfactory senses when you take the first sniff.
Step 3: Smell - Identifying Primary, Secondary, and Tertiary Aromas
This is where the real work begins. Bring the glass close to your nose, but don’t bury your face in it. Take a short, sharp sniff. Then, take a deeper breath. Your nose is far more sensitive than your tongue. Humans can distinguish tens of thousands of scents, whereas we only have five basic taste sensations.
Categorize what you smell into three groups:
- Primary Aromas: These come from the grape itself and the vineyard. Think of fruit flavors (citrus, berry, stone fruit), floral notes (rose, violet), or herbal hints (basil, mint). A Chardonnay might smell like green apple, while a Syrah could offer black pepper.
- Secondary Aromas: These result from winemaking processes. Yeast autolysis creates bready, yeasty smells in Champagne. Oak aging adds vanilla, toast, coconut, or smoke. Malolactic fermentation can introduce buttery or creamy notes.
- Tertiary Aromas: These develop during bottle aging. Over years, fresh fruit fades and complex earthy notes emerge. Look for leather, tobacco, forest floor, dried herbs, or truffle. These are signs of a mature wine.
If you get stuck, try to identify just one thing. Does it smell like a lemon? A strawberry? Wet dog? There is no wrong answer. Your brain associates smells with memories, so trust your instincts.
Step 4: Sip - Evaluating Taste and Structure
Take a moderate sip. Don’t swallow yet. Let the wine coat your entire mouth. Roll it around your cheeks, tongue, and gums. You want to expose every taste bud to the liquid. Then, gently inhale through your mouth or exhale slowly out of your nose (this is called the retronasal passage). This technique sends aroma signals back to your brain, enhancing the perception of flavor.
Focus on four key structural components:
- Sweetness: Detected on the tip of the tongue. Most dry wines have negligible sugar, but some whites retain residual sugar for balance.
- Acidity: Felt on the sides of the tongue. High acidity makes your mouth water. It provides freshness and structure, especially in whites like Riesling or Vermentino.
- Tannin: Found primarily in red wines, tannins come from grape skins, seeds, and stems. They create a drying, astringent sensation on your gums and cheeks. Think of the feeling after drinking strong black tea. Good tannins feel smooth and velvety; harsh tannins feel gritty or bitter.
- Alcohol: Felt as warmth in the throat or a burning sensation on the palate. Higher alcohol wines (14% ABV and above) can feel heavy or hot, while lower alcohol wines feel lighter.
Balance is the ultimate goal. No single component should dominate. If the acid is too sharp, the wine tastes sour. If the alcohol is too high, it tastes boozy. A well-made wine has all these elements working together harmoniously.
Step 5: Savor - Analyzing Finish and Complexity
Swallow the wine (or spit it out if you are tasting multiple samples professionally). Now, pay attention to what remains. The finish is the length of time the flavors linger after swallowing. A short finish disappears quickly. A long finish lasts for seconds or even minutes, leaving pleasant echoes of fruit, spice, or mineral notes.
Consider the complexity. Did the wine change as it sat in your mouth? Did new flavors emerge? A simple wine tastes the same from start to finish. A complex wine evolves, revealing different layers over time. Finally, assess the overall quality. Was it balanced? Was it intense? Did it have a long finish? These factors determine whether a wine is merely drinkable or truly exceptional.
| Attribute | Sensory Location | What It Indicates |
|---|---|---|
| Color | Eyes | Age, grape variety, oxidation level |
| Aroma | Nose | Fruit profile, winemaking techniques, aging potential |
| Acidity | Sides of tongue | Freshness, food pairing versatility |
| Tannin | Gums/Cheeks | Structure, aging capability (reds) |
| Finish | Mouth/Throat | Quality, complexity, balance |
Common Pitfalls to Avoid
Even experienced tasters make mistakes. One common error is letting fatigue set in. Your nose gets tired after smelling six or seven wines. This is called olfactory fatigue. To reset your sense of smell, sniff your own elbow, a coffee bean, or plain water. Never rely on coffee beans exclusively, as the strong scent can mask subtle wine aromas.
Another mistake is judging wine in isolation. Context matters. A bold Cabernet Sauvignon might seem aggressive on its own but perfect with a grilled steak. Food changes how wine tastes. Fat softens tannins, salt enhances fruit, and acid cuts through richness. Always consider what you are eating alongside the wine.
Finally, avoid the trap of expecting perfection. Wines have flaws. Cork taint (TCA) smells like wet cardboard. Oxidation smells like sherry or bruised apples. Volatile acidity smells like nail polish remover. Learning to spot these faults helps you separate bad production from stylistic choices.
How much wine should I pour for tasting?
A standard tasting pour is about 2 to 3 ounces (60-90 ml). This amount is sufficient to swirl, smell, and sip without filling the glass, allowing space for aromas to collect at the top.
Should I spit the wine out?
Spitting is recommended when tasting many wines in a row, such as at a professional event or winery tour. It prevents alcohol intoxication and keeps your palate fresh. For casual home tasting, swallowing is fine unless you plan to drive.
What temperature should wine be served?
Light whites and rosés should be chilled to 45-50°F (7-10°C). Full-bodied whites and light reds go best at 55-60°F (13-15°C). Bold reds are optimal at 60-65°F (15-18°C). Serving wine too cold masks aromas; too warm emphasizes alcohol.
Can I learn to taste wine without formal training?
Absolutely. Formal training helps with vocabulary, but anyone can improve by practicing the five steps regularly. Start with contrasting wines, like a crisp Sauvignon Blanc versus a oaky Chardonnay, to notice differences in acidity and texture.
Why does my wine taste bitter?
Bitterness often comes from excessive tannins or seeds/stems included during fermentation. It can also indicate that the wine is past its prime or was stored incorrectly. If the bitterness is overwhelming, the wine may be flawed.